

Learn how to upcycle your personal care products into a DIY Washi Tape Vase. Unilever wants to inspire you to recycle and upcycle more in the bathroom to bring more sunshine to the planet. When you think about how many personal care products you use every day, there is a huge opportunity to upcycle and recycle more.
When you buy Unilever personal care products, you are saving more than you think. That’s because the packaging is made from commonly recyclable plastics. Consider adding a small container in your bathroom for recyclables so it’s easy to separate them from the trash. Or better yet, try an upcycle project like my DIY Washi Tape Vases.
 Rinse. Recycle. Reimagine.
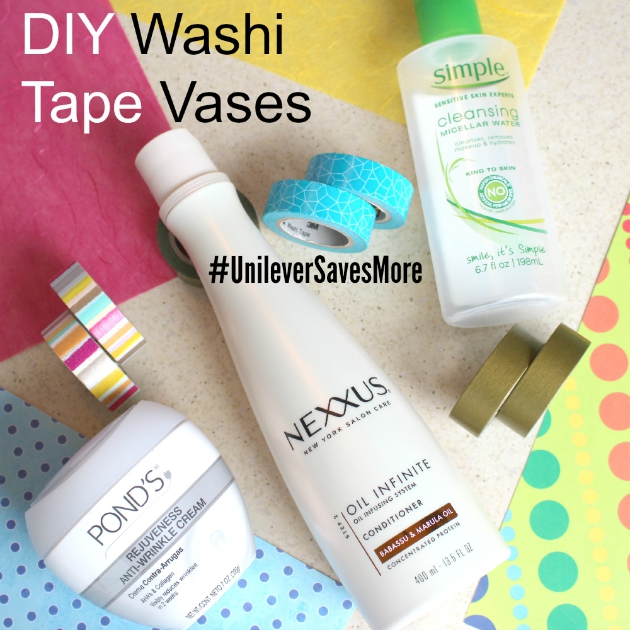
What did I do with my Unilever containers after rinsing? Instead of recycling them – I upcycled them into something new, useful and pretty. I created DIY Washi Tape Vases to put flowers in. For this DIY project all you need are a few clean containers and washi tape. Ok – it’s also handy to have a hacksaw because ideally you’ll cut off the tops of your containers (but you don’t have to). Luckily my hubby was excited to volunteer his skills and sawed off the tops of my Nexxus and Simple containers for me. If I had to do this project over again, I would have asked him to cut the top off my Pond’s container too.
When selecting your washi tape, I recommend darker colors with a texture or pattern to them. My favorite DIY vase was the turquoise one because the color did a great job of covering up the lettering on the package and the pattern made it more difficult to see the “wrapping” lines.

Next I started wrapping my vases in washi tape. I found that starting at the top and placing the tape diagonally across the container worked the best. I experimented a little and found that wrapping in one direction only worked the best. In some areas the lettering on the container showed thru the washi tape so I just covered those areas with two layers of washi tape.
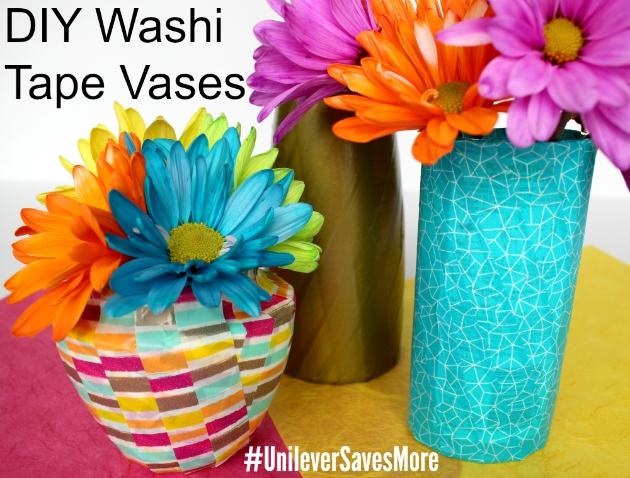
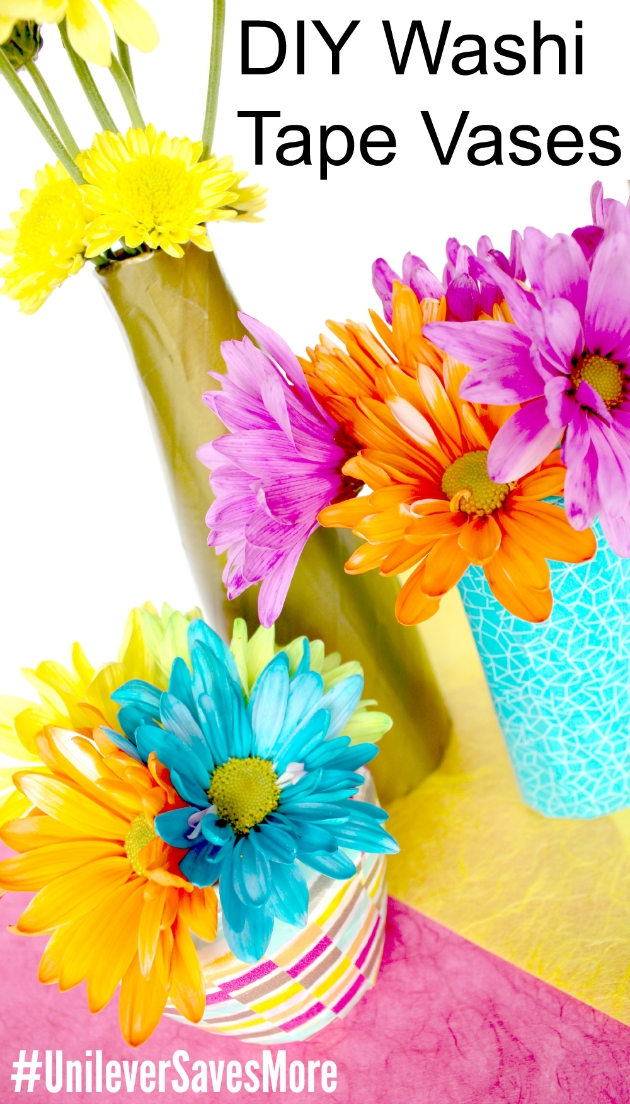
Aren’t my DIY Washi Tape Vases fun to look at? If you love how your DIY vases turn out, I recommend applying modge podge to them in order to more permanently “fix” the washi tape to the container. Add your favorite flowers – I couldn’t resist these Crazy Daisies!
 What will you upcycle?
What will you upcycle? How will you recycle more? Leave a comment!
This post is sponsored by Lunchbox, but all opinions expressed are my own. Please visit my Disclosure Policy.
Originally published August 22, 2015.
![]()


I would have never thought about up-cycling those bottles. This is a great idea and since I need color in my bathrooms, I am definitely going to give this a try. Great post!
Thanks Teresa ~ I was looking at them and thinking how they are “vase shaped” so put my washi tape to work! It didn’t use as much washi tape as I thought it would and the results were so cheerful!