

🎃Halloween Cookie Dough Cheese Ball Recipe

 Pin It A great sale on cheese is just the reason I need to whip up a fun recipe for Halloween. I love cheese balls, but wanted to make one on the sweeter side. I […]






🐸Free Kids Printable: Make Your Own Masks
 Get your free printable Masks You Can Make for kids thanks to Dover. Just click on the blue numbers at the top right to access each page. Right-click and select “Print” to print each page. There are five different masks that you can print, color and assemble. Free printable kids masks include: monster, […]


🍊Orangey Pumpkin Muffins (a gluten-free muffin made with carrot juice)

Give carrot juice a chance! It’s brilliant orange, sweet, and full of good-for-you Vitamin A and beta-carotene. I’m using carrot juice as a substitute for water in my Orangey Pumpkin Muffin recipe to […]




🏰Free Printable Adult Coloring: Gothic Fantasy
 Get your markers or colored pencils for these free Gothic Fantasy adult coloring pages from Dover. There are six pages you can print, just click on the numbers at the top right to scroll through them. Right-click on the image and “Save image as” to your desktop so you can print them. Designs featured […]





🎃DIY Pumpkin Centerpiece
This shop has been compensated by Collective Bias, Inc. and its advertiser. All opinions are mine alone. #FamilySavings #CollectiveBias
I love decorating for […]




FEATURED POSTS
🍊Orangey Pumpkin Muffins (a gluten-free muffin made with carrot juice)
Give carrot juice a chance! It’s brilliant orange, sweet, and full of good-for-you Vitamin A and beta-carotene. I’m using carrot juice as a substitute for water in my Orangey Pumpkin Muffin recipe to give it a brighter orange color naturally. Pin it to your Halloween, Pumpkin or Snacks or Desserts board!
Now I made this recipe gluten-free because I’m in love with the King Arthur Flour Gluten-Free Muffin Mix. But you can certainly try this with any 16 oz. vanilla muffin or cake mix. Because of the extra moisture from the canned pumpkin (it replaces the oil) you’ll need to bake it a little bit longer than usual to avoid a mushy middle. I like using parchment baking cups for my muffins, but you can certainly use any baking cups or simply grease the muffin pan well.
The result is a muffin that tastes like pumpkin pie! My kids are gobbling them up morning, noon and night. I can not call my kids “Pumpkin Muffin” when there are actual edible Pumpkin Muffins in the house – because they think I’m offering them something to eat!
- King Arthur Flour Gluten-Free Muffin Mix (or any 16 oz. vanilla muffin or cake mix)
- 2 eggs
- 1 cup carrot juice
- ½ cup canned pumpkin
- 1 tsp cinnamon
- ½ tsp ginger
- ½ tsp nutmeg
- ¼ tsp cloves
- turbinado sugar (optional for a crunchy sweet muffin top)
- Preheat oven to 400 degrees and place a rack in the middle.
- Line two muffin pans with parchment baking cups (or other baking cups) or grease well. This recipe made 16 muffins for me, but it may make less for you depending on how much better you add to each muffin.
- Beat together wet ingredients (eggs, carrot juice, canned pumpkin) with an electric mixer.
- Gradually add the dry ingredients (muffin mix, cinnamon, ginger, nutmeg, cloves).
- Spoon batter into muffin pan filling each cup about half-way full.
- Sprinkle your muffins with turbinado sugar before baking if you'd like a crunchy sweet muffin top (optional).
- Bake for 20 minutes at 400 degrees. Use a toothpick to ensure the muffins are baked in the center.
- Remove muffins from oven when done. Cool & serve.
I hope you liked this recipe and please check out my other recipes too!
🎃DIY Pumpkin Centerpiece
This shop has been compensated by Collective Bias, Inc. and its advertiser. All opinions are mine alone. #FamilySavings #CollectiveBias
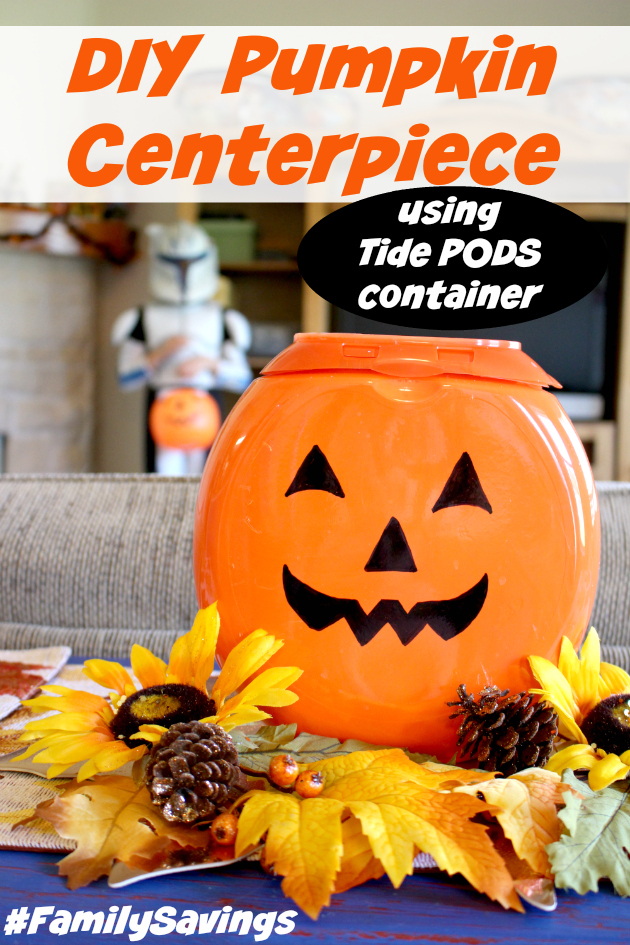
I love decorating for Halloween and I’ve got a new sofa table in my family room that’s just screaming for a DIY Pumpkin Centerpiece. I shopped at Family Dollar Stores® to save money using the new Smart Coupons on laundry essentials and all of the supplies I needed to create an affordable DIY Pumpkin Centerpiece by reusing an orange Tide PODS container. Smart Coupons are digital coupons that you can load to your account to use at Family Dollar® and they are helping customers save an average of $10 per order.
I want to help you save money at Family Dollar® too, so create your Smart Coupons account and clip the Tide PODS laundry detergent and Downy Liquid Fabric Softener/Enhancer coupons plus register to receive more savings via email. It’s easy to redeem your coupons at checkout when you type in your phone number into the keypad. I saved $2.50 on Tide PODS and Downy Liquid Fabric Softener/Enhancer and a total of $8.75 on my shopping trip by using Smart Coupons. Family Dollar® is dedicated to providing you home essentials while saving you money with Smart Coupons.
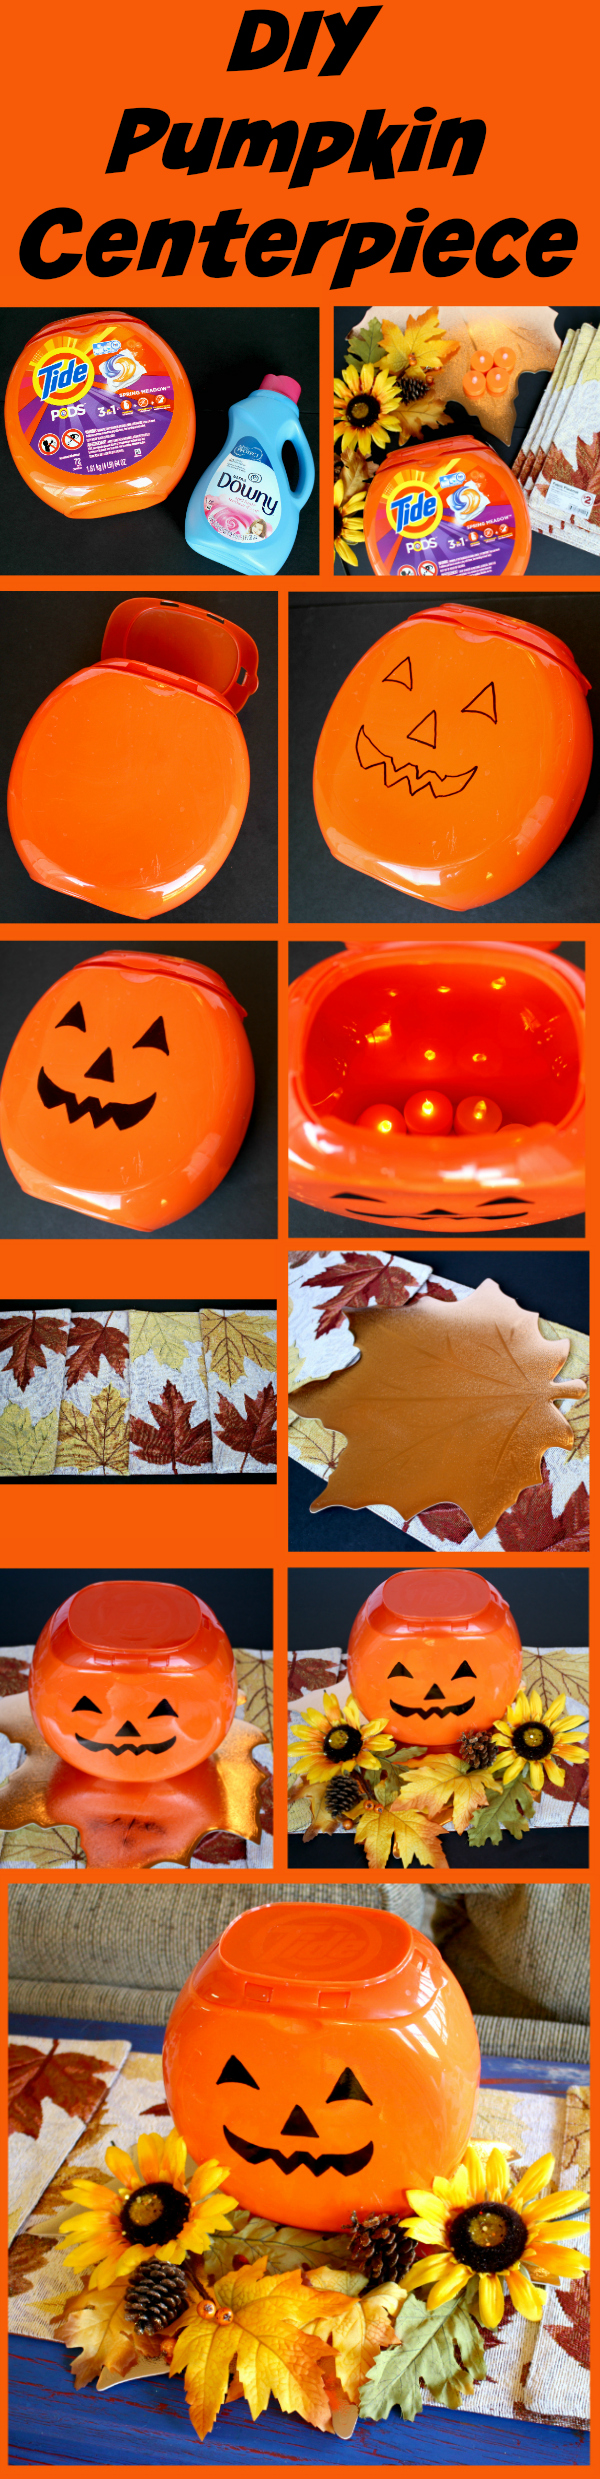
I’ll walk you through the steps to make this DIY Pumpkin Centerpiece out of a Tide PODS container.
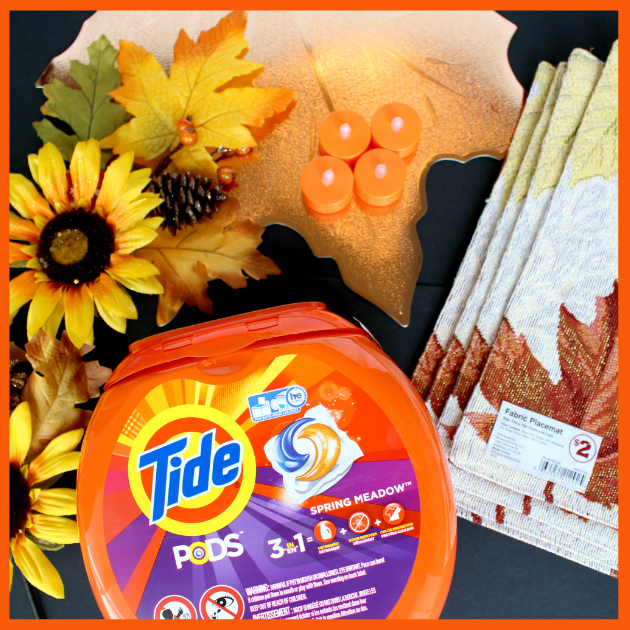 Step 1 – While I was shopping at Family Dollar®, I also picked up Fall decor to help me make my DIY Pumpkin Centerpiece including Fall placemats, Fall floral sprigs and LED tealights.
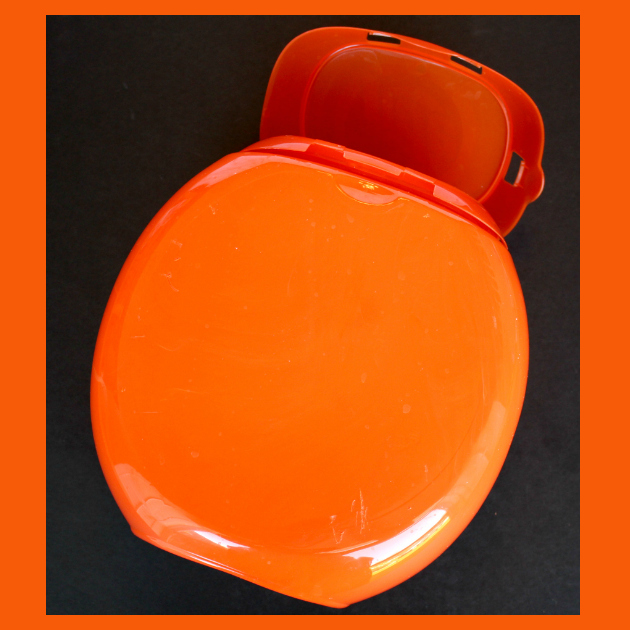 Step 2 – In order to turn my Tide PODS container into a DIY Pumpkin Centerpiece, I had to remove the stickers on the container. I did this by soaking it in warm soapy water then using an adhesive remover and a plastic scraper (like one you use to clean stoneware with). I just kept squirting the sticker with the adhesive remover then scraping the sticker off with the plastic scraper. It took some time to get all the stickers off, but the end result was a beautiful orange container ready to be made into a pumpkin!
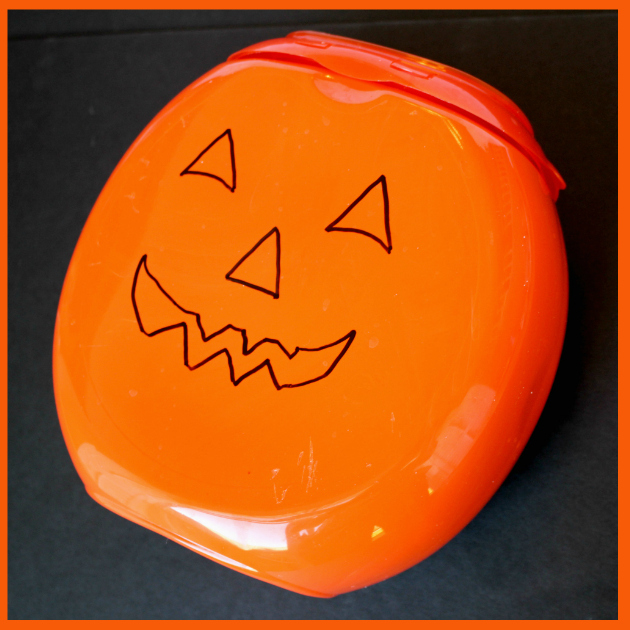 Step 3 – I drew the outline of a pumpkin face using a black permanent marker. Remember that your pumpkin face doesn’t have to be perfect!
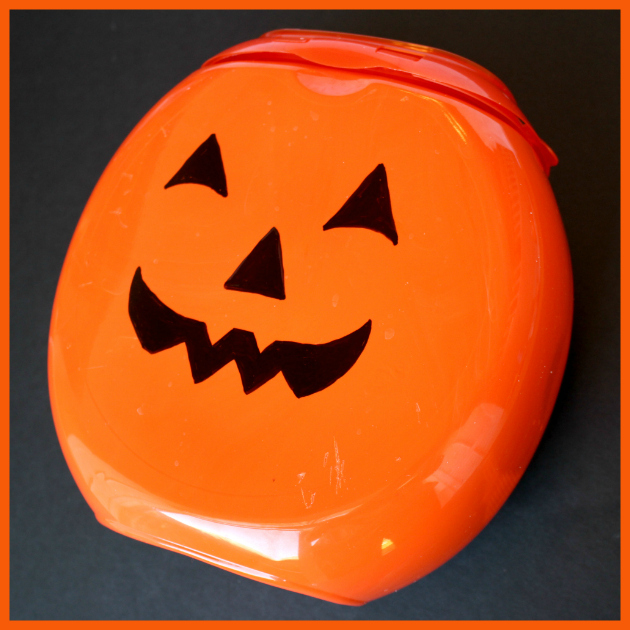 Step 4 – I colored in the outline with a black permanent marker to get my pumpkin face.
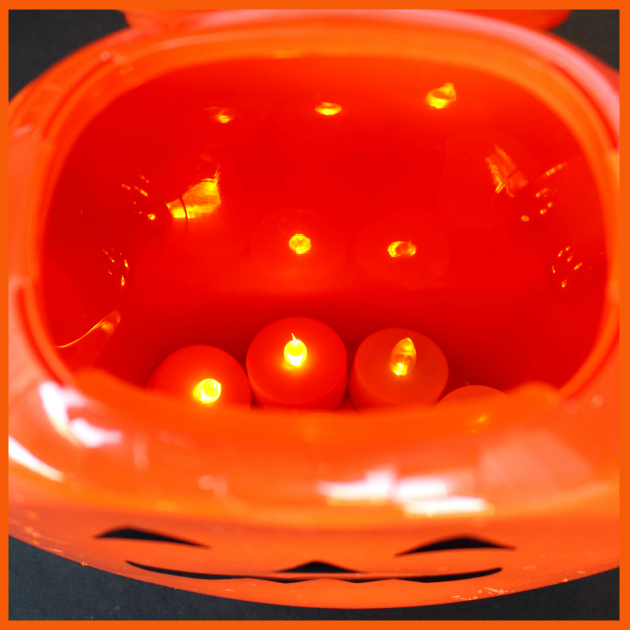 Step 5 – I put LED tealights inside the pumpkin so that we can illuminate it at night.
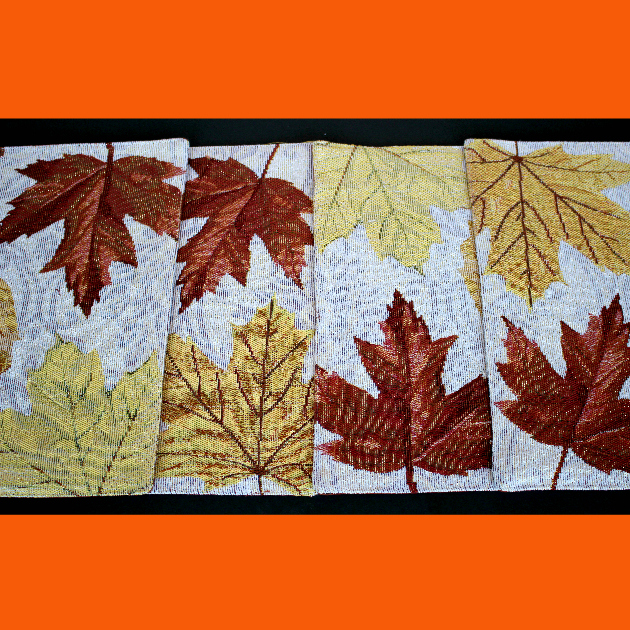 Step 6 – Lay out your Fall placemats to be the base of your centerpiece by overlapping them slightly. I used placemats instead of a table runner because it’s easy to adjust the length and they are multi-purpose.
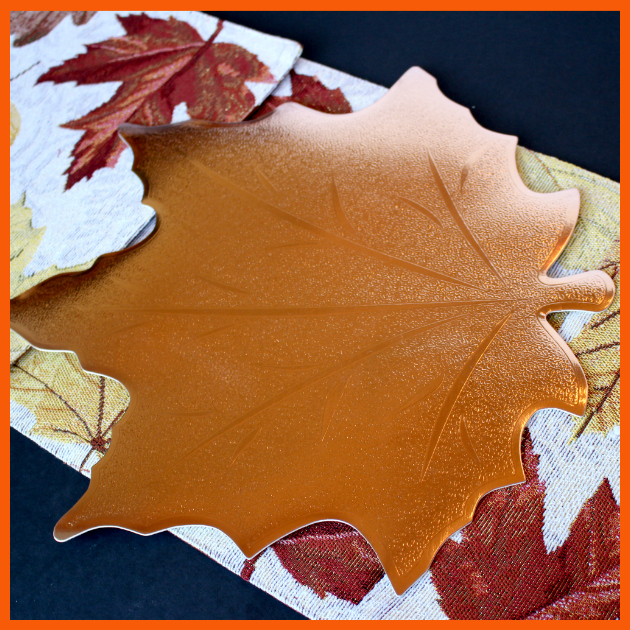 Step 7 – Place an additional placemat in the center to set the pumpkin on top of if you’d like. I liked this coppery leaf placemat that I found at Family Dollar®.
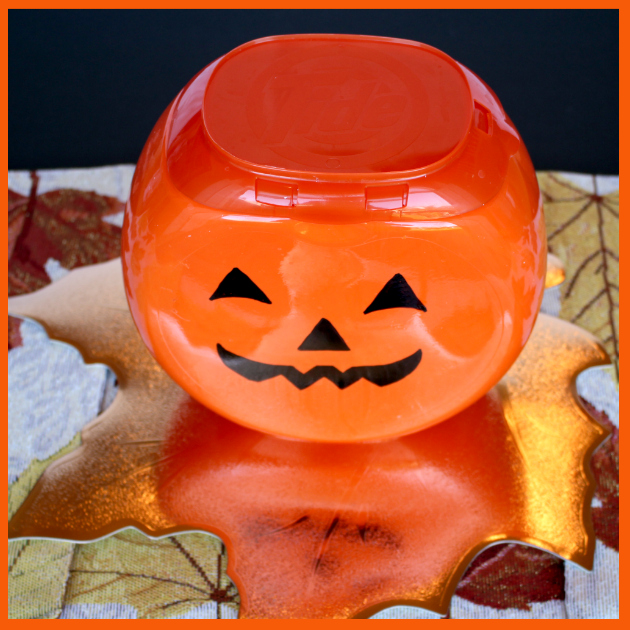 Step 8 – Place pumpkin on top of the center of the placemats.
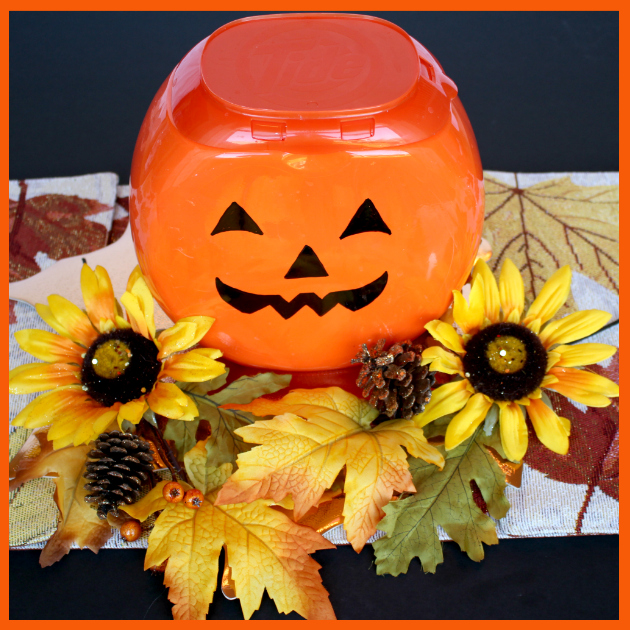 Step 9 – Surround pumpkin with Fall floral sprigs. I love the contrast that these sunflowers provide to my DIY Pumpkin Centerpiece.
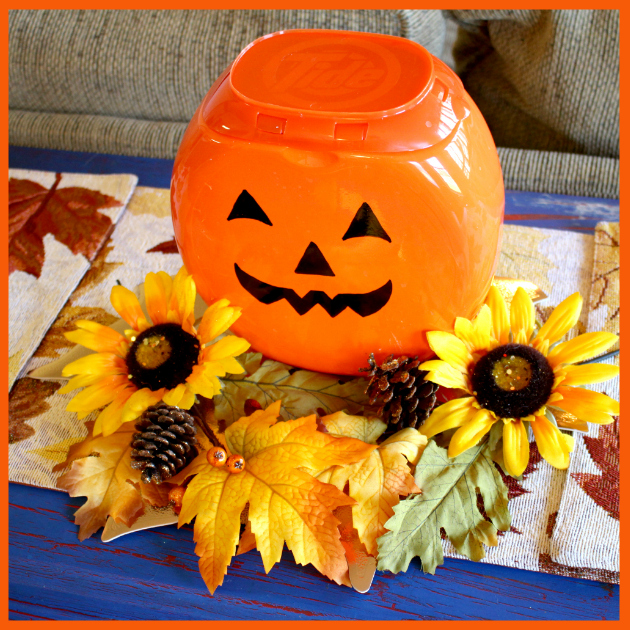 Step 10 – Place your centerpiece on the center of your dining table or sofa table. I always have a seasonal centerpiece on my sofa table for the holidays.
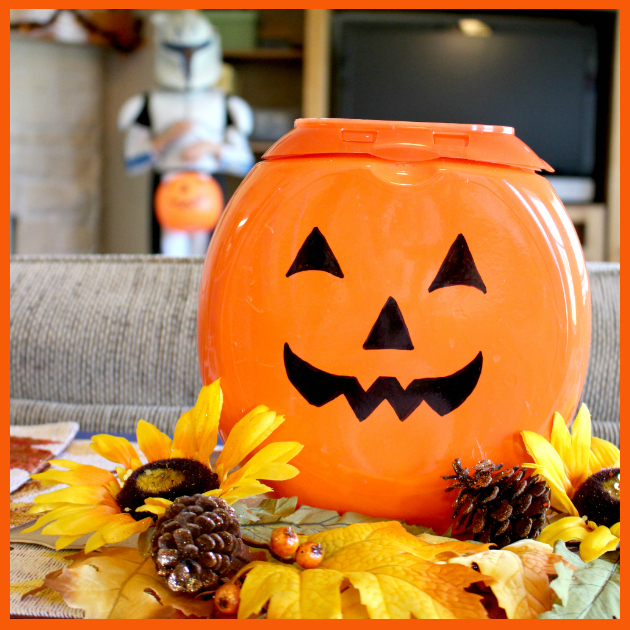 Step 11 – My kids love this DIY Pumpkin Centerpiece and they are in charge of lighting it up each night by turning on the LED tealights that are inside. After Halloween I plan on using it to store some of my small Halloween decor.
I would love for you to pin my DIY Pumpkin Centerpiece so you can refer to it later when you make one for your home!
Which #FamilySavings are you taking advantage of at Family Dollar®?
I received compensation for this post. My opinions are my own and they are not edited by Collective Bias®. Please visit my Disclosure Policy.
Originally posted on October 10, 2016.