This shop has been compensated by Collective Bias, Inc. and its advertiser. All opinions are mine alone. #FamilySavings #CollectiveBias

I love decorating for Halloween and I’ve got a new sofa table in my family room that’s just screaming for a DIY Pumpkin Centerpiece. I shopped at Family Dollar Stores® to save money using the new Smart Coupons on laundry essentials and all of the supplies I needed to create an affordable DIY Pumpkin Centerpiece by reusing an orange Tide PODS container. Smart Coupons are digital coupons that you can load to your account to use at Family Dollar® and they are helping customers save an average of $10 per order.
I want to help you save money at Family Dollar® too, so create your Smart Coupons account and clip the Tide PODS laundry detergent and Downy Liquid Fabric Softener/Enhancer coupons plus register to receive more savings via email. It’s easy to redeem your coupons at checkout when you type in your phone number into the keypad. I saved $2.50 on Tide PODS and Downy Liquid Fabric Softener/Enhancer and a total of $8.75 on my shopping trip by using Smart Coupons. Family Dollar® is dedicated to providing you home essentials while saving you money with Smart Coupons.
I’ll walk you through the steps to make this DIY Pumpkin Centerpiece out of a Tide PODS container.
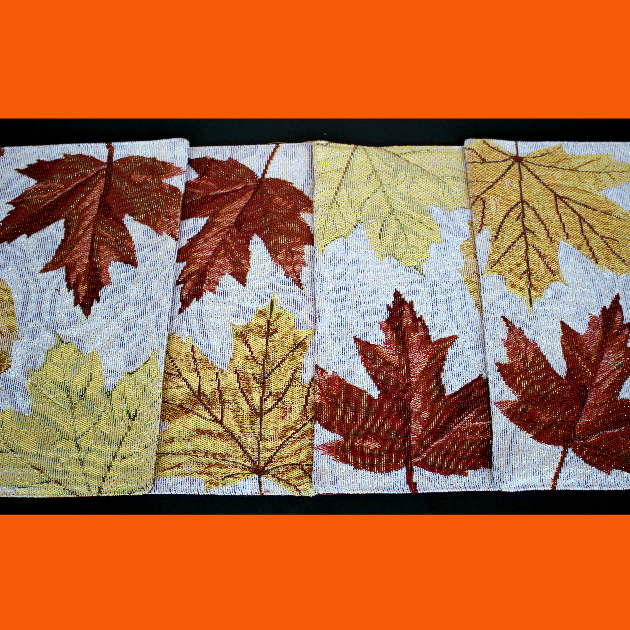
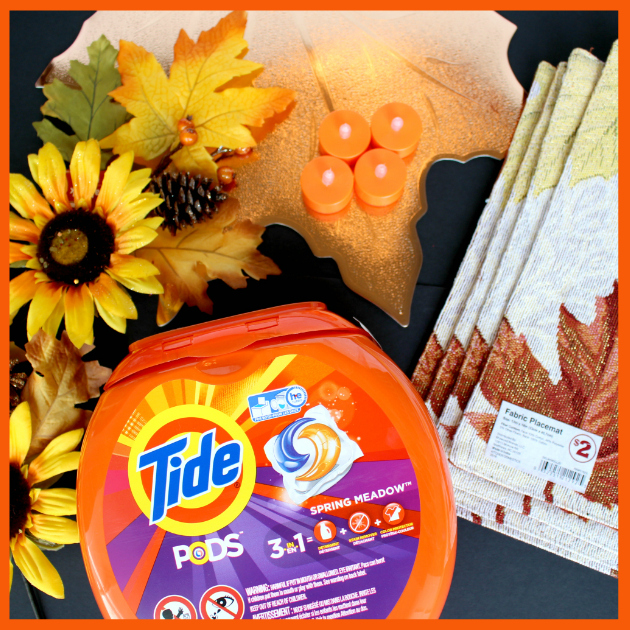 Step 1 – While I was shopping at Family Dollar®, I also picked up Fall decor to help me make my DIY Pumpkin Centerpiece including Fall placemats, Fall floral sprigs and LED tealights.
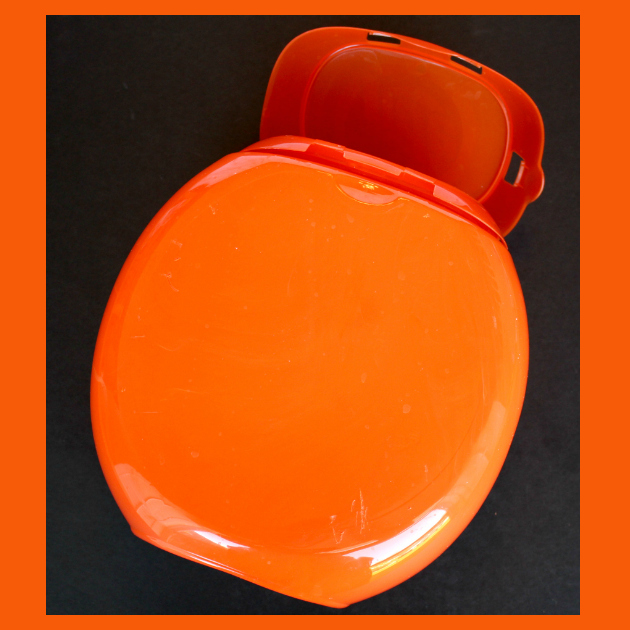 Step 2 – In order to turn my Tide PODS container into a DIY Pumpkin Centerpiece, I had to remove the stickers on the container. I did this by soaking it in warm soapy water then using an adhesive remover and a plastic scraper (like one you use to clean stoneware with). I just kept squirting the sticker with the adhesive remover then scraping the sticker off with the plastic scraper. It took some time to get all the stickers off, but the end result was a beautiful orange container ready to be made into a pumpkin!
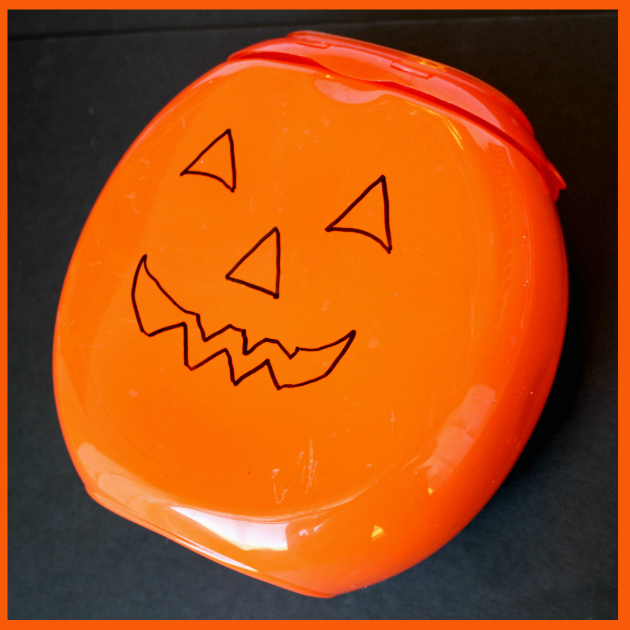 Step 3 – I drew the outline of a pumpkin face using a black permanent marker. Remember that your pumpkin face doesn’t have to be perfect!
 Step 4 – I colored in the outline with a black permanent marker to get my pumpkin face.
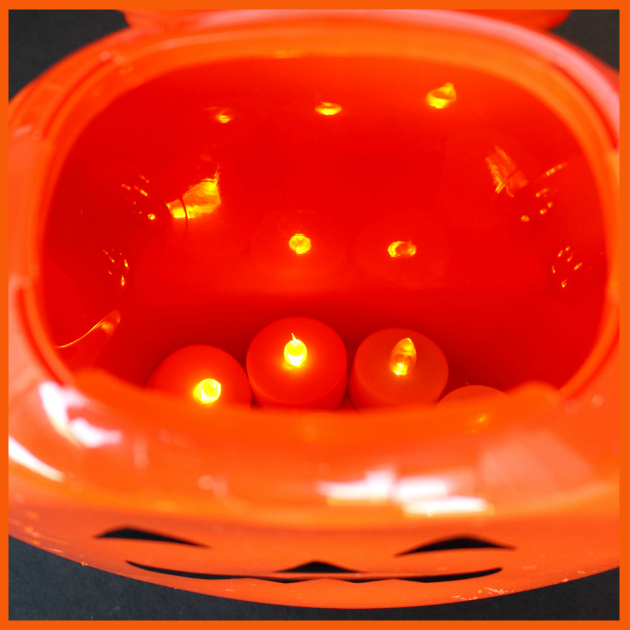 Step 5 – I put LED tealights inside the pumpkin so that we can illuminate it at night.
 Step 6 – Lay out your Fall placemats to be the base of your centerpiece by overlapping them slightly. I used placemats instead of a table runner because it’s easy to adjust the length and they are multi-purpose.
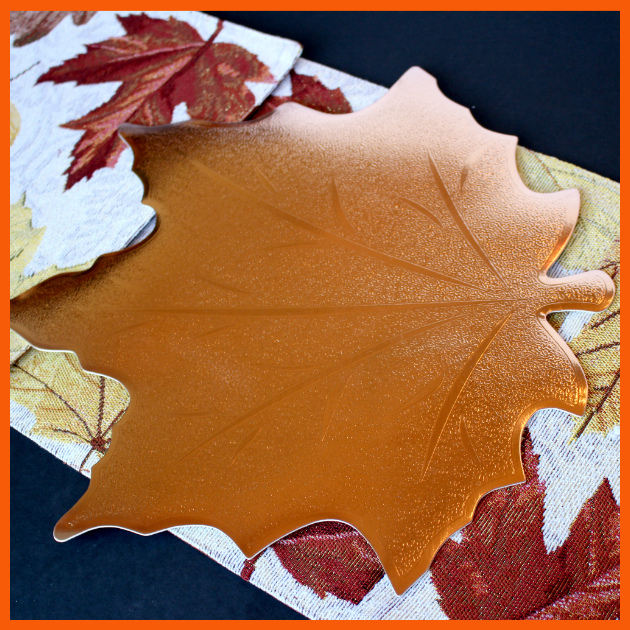 Step 7 – Place an additional placemat in the center to set the pumpkin on top of if you’d like. I liked this coppery leaf placemat that I found at Family Dollar®.
 Step 8 – Place pumpkin on top of the center of the placemats.
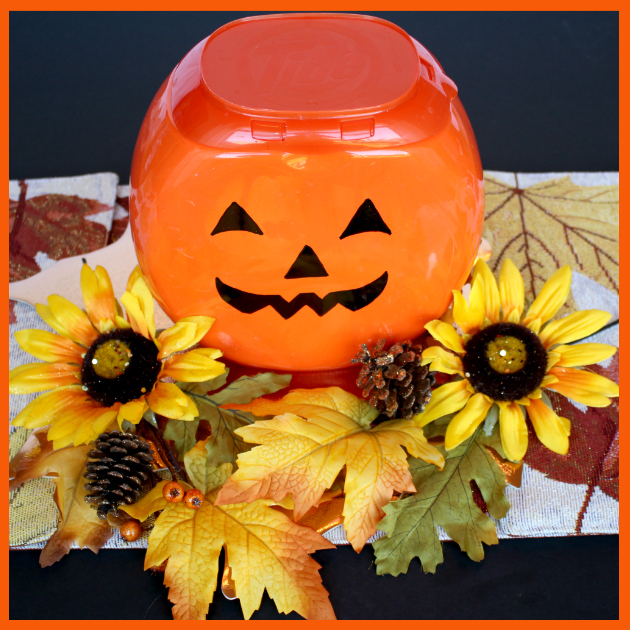 Step 9 – Surround pumpkin with Fall floral sprigs. I love the contrast that these sunflowers provide to my DIY Pumpkin Centerpiece.
 Step 10 – Place your centerpiece on the center of your dining table or sofa table. I always have a seasonal centerpiece on my sofa table for the holidays.
 Step 11 – My kids love this DIY Pumpkin Centerpiece and they are in charge of lighting it up each night by turning on the LED tealights that are inside. After Halloween I plan on using it to store some of my small Halloween decor.
I would love for you to pin my DIY Pumpkin Centerpiece so you can refer to it later when you make one for your home!

Which #FamilySavings are you taking advantage of at Family Dollar®?
I received compensation for this post. My opinions are my own and they are not edited by Collective Bias®. Please visit my Disclosure Policy.
Originally posted on October 10, 2016.
![]()


Very imaginative! Can’t wait to try it. FYI, it’s easy to remove the sticker from the Tide pod container using WD-40. Just spray, rub slightly, and wipe clean.
To remove those labels easier, rub on any vegetable oil and let it set for 30-45 mins. then just peel off. If not soft enough repeat until all is removed.
This is so creative! I often wonder what to do with the empty containers – now I know! I can’t wait to sign up for Smart Coupons – they’re perfect for me as I often forget my coupons at home! #client